Features
Production
Vegetables
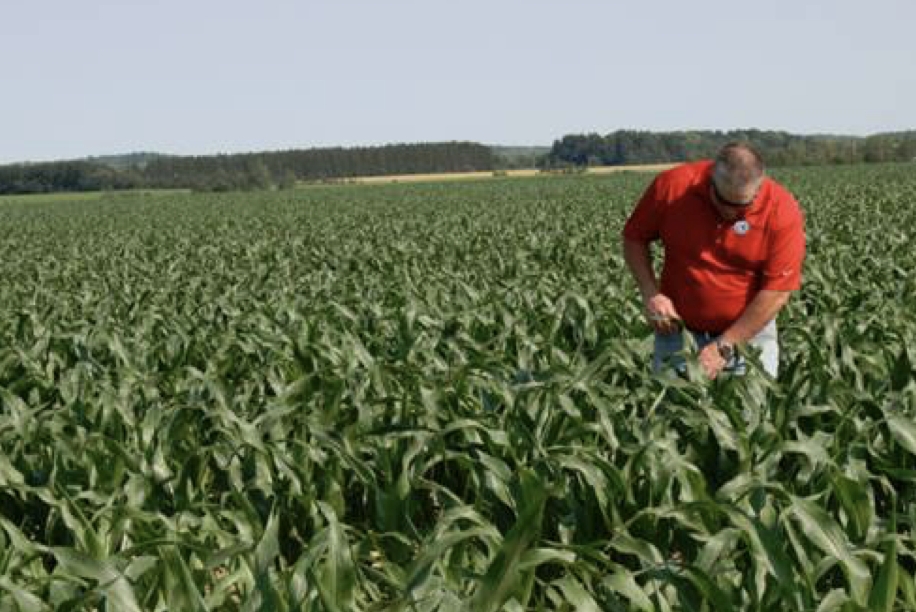
Making the most of plant tissue sampling
Sampling at the wrong time or the wrong plant part can lessen the value of your results.
June 6, 2018 By Ag Source Laboratories
 Make the most of your time by knowing what plant part you need to sample and shipping to the laboratory properly.
 With an increase in precision agriculture and more closely monitored in-season crop fertilizer applications, we’ve also seen an increased interest in plant tissue testing. But, before you begin sampling in the field this season, do what you can to ensure you’re getting the best sample and making the most from your time spent.
“It’s very important to take a plant tissue sample from the correct plant part,” says Dr. Jim Friedericks, outreach and education advisor for AgSource Laboratories. “For example, to have the earliest effect on this growing season, corn plants should be in the 8-leaf to 12-leaf stage, soybean plants can be submitted from 4-inches to 8-inches tall and alfalfa from 6-inches to first flowering.” These results can then be used to fine-tune an expected side-dress application or for a “rescue” nutrient application for the current crop.
The results from plant tissue samples are typically reported in comparison to the range of nutrient concentrations sufficient for that plant at that growth stage. Because these ranges shift with the growth of the plant it is important to identify the growth stage when submitting a plant sample to the laboratory. It’s normal for crop nutrient levels to vary throughout the season, therefore it’s important for these nutrients to be available when the crop needs them.
Alternatively, taking plant tissue samples multiple times throughout the growth cycle reveals the seasonal trends of your crop, and differences in your individual fields. Reports from these frequent plant tissue samples can be used to make corrections or additional nutrient applications as long as your field equipment makes it feasible to spray the canopy or dribble nutrients onto the soil surface.
Plant tissue sampling provides a picture of the nutritional status of your crops. Combined with a soil testing program, you can build a 360° view of your fields and crops to make better management decisions that could drive higher yields and reduce input costs throughout the growing season.
Plant tissue testing is also helpful when checking for suspected nutrient deficiencies. Often, a common visual sign of a macronutrient deficiency can be mistaken for what is actually micronutrient deficiency. One example is molybdenum (Mo), which is required for nodule formation in nitrogen fixing crops. What visually appears as nitrogen deficiency in alfalfa may in fact be inadequate supply of molybdenum.
While creating your plant tissue sampling plan, keep these points in mind:
- Sample your fields using appropriate zones. Pull plant/leaf samples from the same variety or hybrid. One sample = one variety or hybrid = one zone
- Combine with a soil sample. Consider a routine soil sample that includes nitrate in the analysis. Pull this sample in the same location as your plant tissue sample. This approach can determine the soil’s ability to supply nutrients in the growing season and identify confounding problems such as low soil pH.
- Avoid trouble spots. Stay away from sampling close to field boundaries or gravel roads, or visually damaged field zones. Trouble spots should be a separate sample.
- Collect the proper plant part and amounts. Collect 15 to 20 leaves, or at least half a paper lunch bag full, and choose mature leaves from the middle or upper part of the plant. Never send bottom leaves or immature leaves. Consult a sampling guide for more specific instructions.
- If the leaves are contaminated with soil rinse them briefly under a stream of distilled water and allow to air dry.
- Consistency is key in plant tissue sampling. Pull samples at the same time of day throughout the season.
- Handle the samples properly. Label your sample bags, make sure the labels match your submittal forms and send them promptly. Pack the shipping box loosely to include some air space. If possible, collect and ship the samples the same day. If not, store samples in a refrigerator.
“Shipping and handling is critical. When samples are shipped wet and in plastic bags, we end up with moldy tissue. We can’t test moldy samples and growers end up having to go back out to the fields and resample,” notes Friedericks. “For best results, use a paper bag and ship dry samples. We hate having to call clients to tell them their samples have to be tossed.”
Print this page